
that's actually a great idea! I'll see if I can do it
A member registered Dec 13, 2018 · View creator page →
Creator of
Run in browser
Adventure
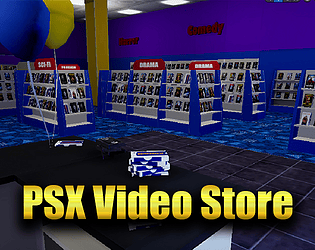
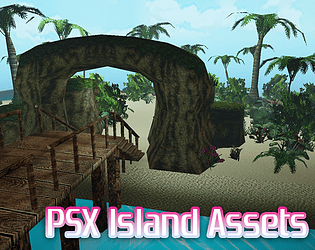
A 90's style video store environment asset pack

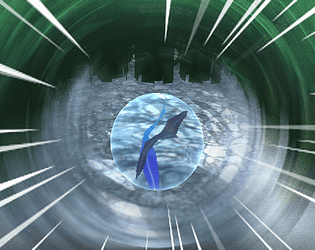
PS1 Moon Environment
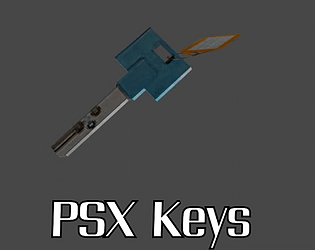
PSX style keys for your game.

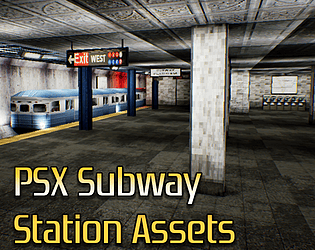
PSX Retro style Airport environment meshes
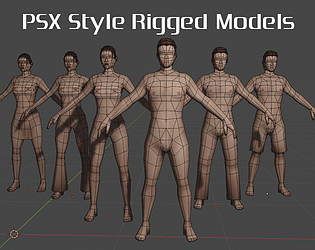
Rigged characters with UV's, ready for texturing, includes .blend files
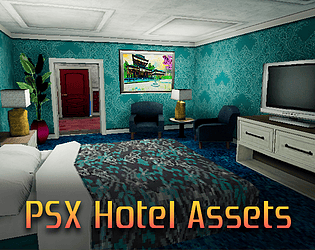
PSX Retro Style Hotel Asset Pack
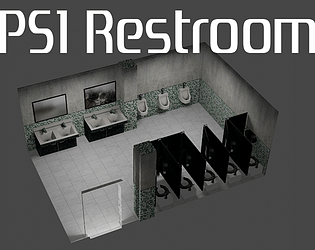
Quickly add a public restroom to your PSX style games!
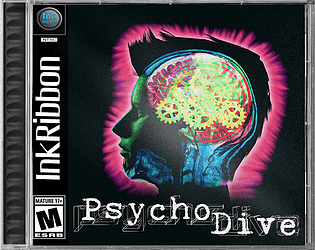
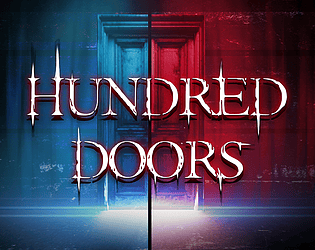
A PS1 style Psychological Horror game where you dive into the minds of some disturbed people.
Adventure
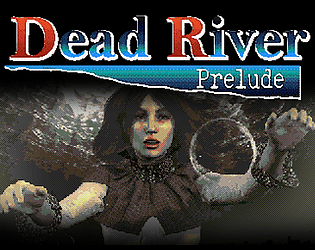
PC-98 Inspired story involving witches , magic, and life choices.
Visual Novel
Play in browser
Developed by one person, this first person horror game leaves you to explore an apartment and try to find a way out.
Interactive Fiction
Recent community posts
PSX Rigged Character Bases comments · Replied to Alex_Lisovets in PSX Rigged Character Bases comments
Thank you. Well the easiest way is to take a photo of a face and just overlay it, then blend out the edges, which is what I'd reccommend if you are a beginner artist.
Otherwise you could try painting your own for a more stylized artistic look.
When I was making this pack I used the Sims 1 as a reference on how to texture